Showing posts with label Cuban Redneck Engineering. Show all posts

Wednesday, August 27, 2014

Transporting our transportation

My first attempt at attaching bikes to the back of the Prius didn't pan out (as I briefly described here) but as any good engineer would do I procrastinated a lot, tinkered a bit and eventually ended up with a solution.  I really wanted to be able to carry a couple of bikes along with our storage box but couldn't get it all to fit and was concerned about it being a bit too much weight so I decided to go with an either/or scenario.

In keeping with the spirit of using junk I had laying around, I harvested a couple of Thule bike trays off an old roof rack I had sitting in the garage and went about trying to figure out how to secure them to the hitch mounted cargo carrier. Step 1 was attaching the front end to the rail on the carrier by using a section of old 5/8" heater hose to act as a shim and add to the tubing diameter as it was less than that of the roof racks the trays were designed to fit.

Next up was creating a cross brace for the back end of the trays since they didn't quite span the width of the carrier.  A couple u-bolts and some hacking on the camera mount I built for my Escort Wagon and we were in business with the added bonus of the cross brace being made of out lightweight, high performance a-lu-min-ium (said in my best British accent) like a Corvette Z06 chassis.
Only thing left to do is make a couple of mounts for the front wheels (the most annoying part about bike carriers that use fork mounts) and she'll be all gravy.

Total time investment: ~45mins (2 weeks counting procrastination time)
Total cost: $0 (for a hoarder like me at least, YMMV)
Read more ...

Friday, August 1, 2014

KISS: DIY Sandbox

Part of our back yard master plan was multiple things to keep the kiddos occupied.  The revA concept for the sandbox was elaborate and hand-built but time constraints and the sight of our old plastic pool languishing in the bushes steered the project elsewhere.

My original plan was to use the 5' diameter pool covered by a tarp secured with tent stakes and ball stretch cord purchased during an impulse trip to Harbor Freight (hypocritically ignored the rules I laid out here) but I quickly realized it required too much sand (even after correcting math using diameter instead of radius to calculate volume of sand needed, doh!) so we procured a 3.5' diameter pool that was sufficiently filled with 4 bags of sand ($10).

A little dressing up with some leftover limestone and the project was complete!

I can anticipate the next question--What about that old pool that spawned the idea in the first place???  Fear not, it now serves as a cheap and easy to use cover!
 

Total cost $21 (would be about $30 if had to buy 2 pools, not including limestone cost since it's not a functional part of the sandbox system), total time to "build" about 10mins, including time spent drinking a beer watching our 13yr old carry the sand to the back yard.  Success!
Read more ...

Wednesday, July 9, 2014

The cure for a saggy rear end

I tagged this post as Redneck Engineering because the product that's about to be described reminds me of spring rubbers commonly used in NASCAR.  While our Prius is a far cry from an 850+hp Sprint cup car and can turn both left and right, it needed some suspension modifications after the expansion of storage capacity led to an altitude adjustment of its rear end.


While the taildragger look works well on a 50s Merc, it isn't really flattering on a Prius nor does it help with ride quality for backseat passengers.  There's usually a couple of options for overload assistance ranging from spacers that install between the spring and seat to heavy duty replacement springs, which for the Prius are designed for carrying the load of upgraded battery packs and come at $300-$400 premium

After some poking around on the interwebs I ran across a product from Super Springs Int'l called SumoSprings that works much like a spring rubber to change the existing spring rate and compensate for times when the suspension is carrying extra load.  Installation was pretty straightforward, at least after watching a few YouTube videos of installation techniques that were far more effective than those provided in the instructions.  We haven't taken a fully loaded trip but I have noticed improved ride quality with the whole family aboard and our cargo carrier no longer scrapes when going up/down the driveway so it seems we've gained some altitude as well.

All of the reviews I read didn't mention any issues with the supplied zip ties but I'm a little concerned about how long they'll hold up, I suppose only time will tell...
Read more ...

Monday, July 7, 2014

Making a small car big: Prius storage!

Time to put some Fab(rication) back in the lab before everyone starts to think it was short for Fabulous instead.  I've been teeing it up for quite a while and I'm sure all 3 readers of this blog have been waiting with great anticipation for this moment since I first posted about buying a Prius and how we'd fit 5 people and all of their associated stuff in it.  
After months of procrastination our 3500 mi roadtrip was looming and I had to get to work, something that was aided by my father's day present this year.  The end result of all of that buildup and planning is what basically amounts to a home built trailer hitch, a Harbor Freight cargo carrier and a locking storage box.  Sorry for the letdown.  

I toyed with many ideas including something along the lines of what Mr. Money Mustache did but I have a proven track record of being terrible at carpentry (and in general anything requiring craftsmanship) and as GI Joe so eloquently said, knowing is half the battle so I stuck with things I was at least marginally good at and put some random stuff together to make something cheap and functional.  As a side note, this project could have been completed without any fab work at all by using an aftermarket trailer hitch but they're expensive (~$100 w/40% off at Advance Auto) and the Class I hitches for the Prius are known to bend with just the weight of 2 bikes on them so I decided against that route, plus what's the fun in a project with no fabrication!!??  On to the creation of this storage masterpiece...  

I leveraged Mr Money Mustache's idea of tieing into the tow hooks since they were there and are designed to handle quite a bit of force.  The aftermarket hitches bolt in the same spot as well so I knew the frame in that area was up to the task and should support the amount of weight I was planning to load on the carrier.  After some of my signature chicken scratch sketches (which will not be posted for ridiculing) I headed off to Harbor Freight for a 2" receiver tube and then to the local metal supplier where I scrounged 8' of 14ga 2" tubing out of the scrap pile.  

Quite a bit of cutting, tacking, fit checking, cutting tacks, re-aligning, hammering etc. later (did I mention I'm not good at things requiring craftsmanship??) and I ended up with this:

A few gussets and some paint (and moments wishing I had a chop saw to make nice straight cuts) later and that part of the project was complete and it was on to the storage solution.  

Some searching of the interwebs and a few weeks of price matching and deliberating led to the purchase of a Contico 55 gallon locking box for waterproof, secure storage.  These things are light and built to withstand the rigors of the jobsite which make them perfect for this type of use, plus I can throw it on the deck to store things when not in use behind the car.  There are other options like waterproof cargo bags that could also be used as an easier to store alternative as well if you don't have the storage space.

Now on to attaching the box to the newly built hitch. I had a hitch carrier sitting in the garage that I picked up from Harbor Freight a few years ago so it was used as the base after some modifications courtesy of a 1987 vintage Toyota bottle jack:

Once the carrier was stretched to the proper width the box dropped right in and was secured using some u-bolts I had laying around:

Project complete.  Here's the final cost tally:
Contico 55 gallon locking storage box: $50.12 (w/coupon and free shipping from zorotools.com, also carried at your local Lowe's for ~$70)
U-bolts: $0, already had ($5 or less from your local hardware store)
Hitch cargo carrier: $0, already had it ($60 w/free shipping on Amazon)
12" receiver tube: $12 (w/20% off coupon at Harbor Freight)
8ft 14ga tubing: $16 (scrap pile at local metal shop)
Grand Total: $78 (or ~$140 factoring in the stuff I already had)

My hope was to be able to use a couple of Thule bike trays I had from an old roof rack to carry bikes as well but unfortunately they hung a bit too much off the back of the car and I was worried about taking out bikers and pedestrians (how ironic would that be??) so more development will be happening on that front and I'll be sure to post an update once I figure it out!

Read more ...

Friday, June 20, 2014

From Dust to Glory: A Story of our back yard

While not quite a direct compare to Baja, our back yard has historically been a huge dust bowl that was certainly not conducive to family fun.  The shade provided by the large live oak (one of the big selling points of the house along with the 2.5 car garage) is a nice respite from the hot Texas sun but also prevents growth of any sort of vegetation requiring sunlight.  Once our little ones became mobile it was very apparent they needed a place to run free (and we needed a place for them to go while we cleaned up the wreckage left in their wake), so our first project of 2014 was to create a space where we could all hang out and enjoy the outdoors, on a budget of course!

Plans were drawn up and jokes were made about my drawing capabilities (including some by those genetically responsible for my lack of artistic skills) and off we went.


The original plan called for a small section of grass but after pondering upkeep (running my own landscaping business in high school killed any desire I had for yardwork) and the condition of our lakes/reservoirs, we stuck with rock and mulch, the amount of which was a result of "while we've got a trailer" syndrome.  We also ended up with a whole pallet of 6" sawed/chopped limestone because it was much easier to have the forklift operator load the whole thing on the trailer than load it piece by piece myself.  Despite the cost of the extra limestone (laziness that later resulted in more work carrying it all to the back yard) we ended up only $40 over our $600 budget and a pretty sweet looking and functional back yard, if I do say so myself!

Here's what 3 tons of rock looks like after being put in place by friends and family bribed with food:

And 4 yards of first grind Cedar for a little cushioning (and hopefully bug repelling) in the play area:

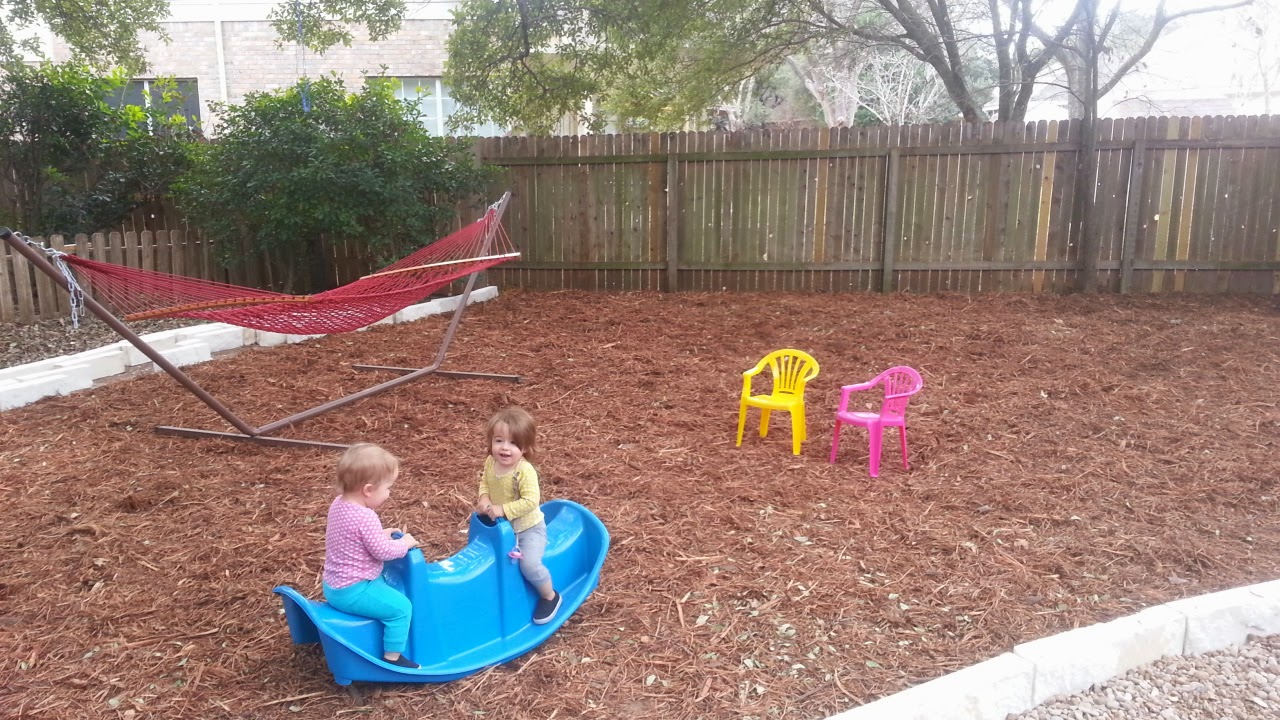
Once we had the mulchy/rocky foundation laid, the first addition was a plastic see saw (which facilitated the learning of the phrase "rocky, rocky") and some chairs which were initially a tipping hazard but are now used for moments of contemplation and sipping of "wai wai" along with a hammock for dad to nap in, I mean supervise.

We also scored a free playhouse on Craigslist from a guy who was also kind enough to drop it off (if 'ol Craig only knew how much he's enriched our lives!) which has provided hours of fun and an infinite ROI.

Future projects will include a sandbox, fire pit, and some sort of comfortable furniture so stay tuned!
Read more ...

Tuesday, May 20, 2014

Inflatable pool? Blower and some duct tape

After a day of watching others play in the water at Austin's new cable park we decided to pull the trigger on a frivolous expense that had been on our watchlist since the weather started warming up--an inflatable pool.  We bought a small fancy plastic pool at the grocery store last year (which will soon become part of an upcoming sandbox project) but after a year it was pretty beat up so we'd been eyeing a deluxe model (with built-in seats for mom and dad) at Sam's club for a few months. 

Upon arriving home I realized that inflation may be a challenge (isn't it always??) as the pump we had left over from our boating days was 12V and I had no way to get a car nor the inflated pool into the back yard.  Further brainstorming led to the realization that my jump box with a 12V outlet was completely dead (better than finding out when it was needed to start a car!) and both our vacuum and my shop vac didn't have a reverse flow port (guess that's what I get for buying the Black Friday special at Lowe's).  

Out of ideas, I headed to the garage for a cold brew and some more brainstorming, at which point I spotted our duct-taped together leaf blower (it was free and as they say you get what you pay for) hanging in the corner, the outlet of which is perfectly sized (with some help from our sticky sliver friend) for the 12V pump fittings.  An extension cord and a few gallons of water later and we were ready to party!


Read more ...

Friday, April 4, 2014

(Innovative?) Fix for saggy twins bassinet

I probably wouldn't qualify as a typical (or good) engineer which is likely why I've been put in a management role that mostly entails sending emails and going to meetings to either inject sarcasm or repeatedly bite my tongue depending on the topic, but the design of some things drive me nuts.  

One of said designs is the Graco Pack 'N Play with Twin Bassinet, which is designed to be "a roomy playard with 2 cozy quilted bassinets for twins" up to 15lbs each.  In reality, as the Amazon reviews state, the thing is a sloping mess that sags like a mother in the middle with 2 small 8sh lb newborns (or dumbbells if said newborns have not yet arrivede) placed in it.  In all fairness, I don't blame Graco for the decisions made in its design, they did a pretty good job of throwing together something they could slap on a $80 pack 'n play and charge freaked out soon to be twin parents almost 2x that, plus all engineers know that the marketing guys win out in the end regardless of what the finished product turns out to be.


All that said, despite the reviews, in our freaked out soon to be twin parent state we ponied up $135 (on ebay of course because paying full price is for suckers and surely we're not suckers even though we bought the thing knowing what we knew) to ensure we had a sleeping apparatus to put at the end of our bed for the first couple of months after our girls arrived.  Also, having an Mechanical Engineering degree (which turns out to be way different than actually being an engineer, something they didn't cover in Intro to Engineering) I was confident I was smarter than all those amazon reviewers and could come up with a novel way to fix this problem that I could potentially pitch to Graco and make millions (of pesos) off of.

The bassinet (that's a hard word to spell, 2 s's, 1 n, 1 t??) portion is basically an assembly of sewn together canvas sections that snaps on to the outer rails of the pack 'n play and is supported by a couple of rods and sections of thin pressboard.  


The main issue is there's nothing supporting the center of the assembly from below so much like an unsupported beam the thing starts sagging when any load is applied away from its supported ends.  In trying to stick with the intended modularity of the thing (and my Cuban Redneck heritage) my first idea involved bungee cords and a ratchet strap around the center section but no duct tape because I couldn't figure out how to work it in.  This solution was less than ideal (and so embarrassing I will not show a picture of it) and had my wife concerned due to the loaded bungee cords running between her little darlings.

Next idea-cram some pieces of an old Virginia Tech (my Alma mater and giver of said ME degree) t-shirt in the pockets that the support rods run through to add some tension.  This fix proved to be fairly promising, supporting 10lb dumbbells prior to the onset of sag but made it almost impossible to get the support rods back out to tear the thing down which is obviously one of the benefits of a Pack 'n Play and inherent in the name.


After drinking a beer (for brainstorming purposes) and kicking around a few more ideas, I caught a glimpse of a sleeping bag crammed under our bed that I had been planning to put in the attic for a few months.  Call it foresight or laziness but this lack of organizational effort led to the best (and easiest to implement) solution for the sag problem. Slightly compressed in its upright position, the sleeping bag had just enough height to span the gap between the base and bassinet section of the Pack 'n Play allowing support for 2 15 lb dumbbells and later 2 newborn baby girls. PROBLEM SOLVED. 

For anyone wanting to implement this (innovative?) fix, the Coleman Trinidad 40-60 degree sleeping bag can be found for $20 on Amazon.
Read more ...

Saturday, November 10, 2012

Birth footage

Hopefully the title of this post will not deter anyone, there will be no birth footage posted in any way shape or form, I'm not even sure I want to witness that at this point...

I read a tip in a twins book (good read btw) my wife gave me about duct taping your still and video cameras together to ensure you can get plenty of pictures and video of your new little one(s)  While a great idea, the tinkerer in me felt I could do something a little more fancy although I do love some duct tape.  Out to the garage I went to scrounge some spare hardware...

Here's what I ended up with:
Not the most elegant solution but I was able to put it together with stuff from my spare hardware box and it does the trick.

Parts list:
-Plate from a 1/4" pipe clamp
-2 1/4-20 x 1" bolts (same threads as tripod mounts on most cameras)
-2 brass bushings from an old shifter
-2 leftover valve cover grommets from a Toyota 22re (I wouldn't go used here, your wife would probably prefer you wait a couple years to expose your new kid to automotive fluids)

Obviously most people (unless they're hoarders or work at a Toyota dealership) probably don't have these exact things laying around but you get the idea.  A couple of 1/4-20 bolts and a plate and you're in business, I didn't want to drive to the 'Depot for shorter bolts so I improvised..
Read more ...